Leave Your Message
Choosing the best Rc Airplane Kits for beginners starts with one simple question: what will make the first flight safer and less stressful?
A beginner-friendly kit should be stable, durable, and easy to repair. High-wing designs usually provide calmer flight behavior than sleek, low-wing models. Lightweight foam can survive a rough landing beside a grassy field. A 2.4GHz radio system, beginner flight modes, and a propeller guard also reduce early frustration. Look for spare parts, clear instructions, and dependable customer support. A cheap kit can become expensive when replacement components are unavailable.
Experienced RC instructor Dave Scott often reminds new pilots, “The best trainer gives beginners time to think.” That advice matters when comparing Rc Airplane Kits. A gentle trainer should respond slowly, not leap forward with every stick movement. Beginners should also practice on a simulator before flying outdoors. Wind changes everything. Even a calm-looking park may produce sudden gusts near trees and buildings.
There is no perfect first aircraft. I once underestimated how quickly a small model could drift across a field. That mistake taught me to value visibility, battery duration, and landing space more than appearance. Some kits promise easy flying but provide weak instructions or fragile landing gear. This guide examines those details carefully, helping new pilots choose a practical aircraft, prepare it correctly, and build confidence one controlled flight at a time.
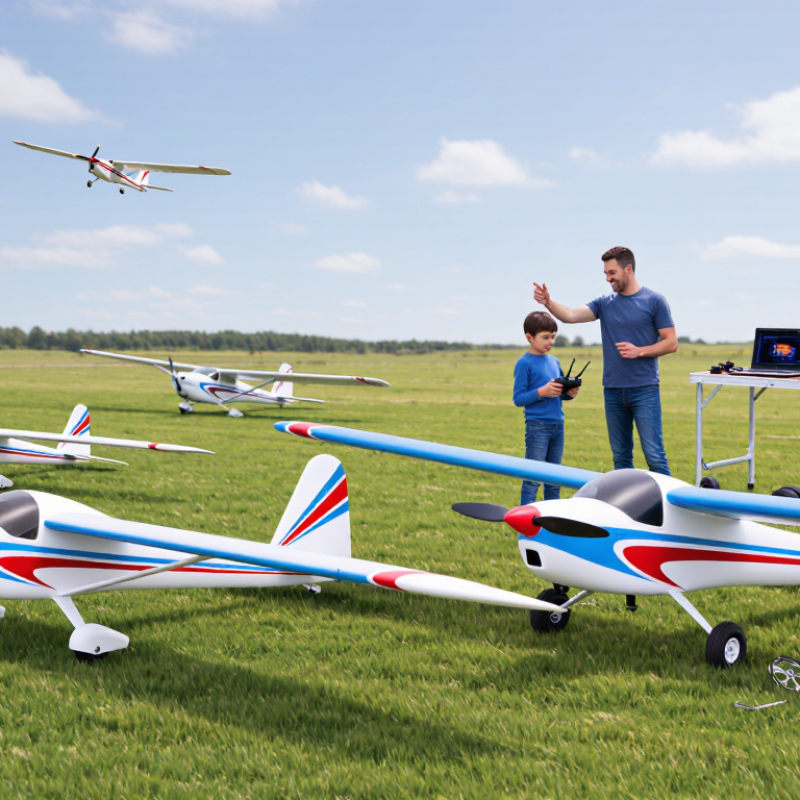
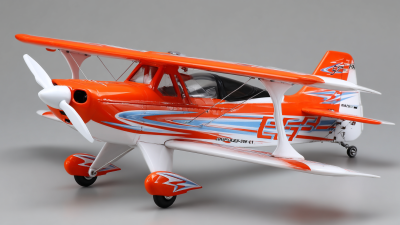
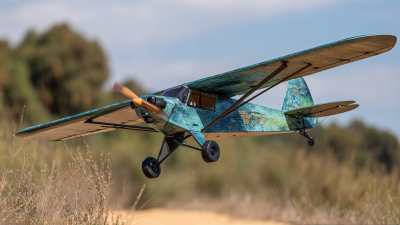
Beginner-friendly RC airplane kits usually fall into four useful types: high-wing trainers, pusher-propeller foam planes, lightweight park flyers, and gentle gliders. High-wing trainers place the wing above the fuselage, creating natural stability during turns. Pusher designs protect the propeller during rough landings. Start gently.
Choose a kit with aileron, elevator, and rudder control if you want transferable flying skills. A three-channel trainer can feel easier, but it may limit future progress. Gliders teach patience and energy management, although calm weather is important. Lightweight foam models tolerate small mistakes better than balsa kits. In my experience, beginners often underestimate landing space. That mistake is expensive in frustration, not money.
Safety and operating conditions should shape the purchase. The FAA reported more than one million registered unmanned aircraft in its 2024 registration update, although that figure covers more than RC airplanes. It still reflects a busier shared airspace. The Academy of Model Aeronautics safety guidance emphasizes approved flying areas, visual line of sight, and careful preflight checks. A 2024 Grand View Research market outlook also projects continued growth in remote-control products through 2030. That growth means more choices, not automatically better choices. Avoid advanced low-wing aerobatic kits at the beginning. I still think a slightly slower airplane can teach more than a faster one.
| RC Airplane Kit Type | Beginner Suitability | Typical Design | Assembly Requirement | Control Features to Look For | Power System | Recommended Flying Environment | Main Advantages | Important Limitations |
|---|---|---|---|---|---|---|---|---|
| High-Wing Trainer | Excellent | Wing mounted above the fuselage with a stable, forgiving layout. | Usually simple assembly with pre-installed or easy-to-connect components. | Three- or four-channel control; beginner mode, stabilization, and throttle limiting are helpful. | Most commonly electric-powered; brushed systems may be found in basic kits, while brushless systems offer better efficiency. | Large, open grass fields with low wind and sufficient clearance from people and obstacles. | Strong natural stability, predictable low-speed handling, and easier recovery from minor control errors. | Less aerobatic and typically slower than low-wing or sport aircraft. |
| High-Wing Glider | Excellent | Longer, efficient wings designed to maintain lift at low speeds. | Generally straightforward; wings may be detachable for transport. | Rudder, elevator, and throttle are usually sufficient; ailerons are useful but not always included. | Electric motor and propeller for launch or climbing, followed by low-power gliding. | Open fields, gentle slopes, or calm areas with light and steady airflow. | Long flight times, low stall speed, and relaxed control response. | Long wings can be more vulnerable during rough landings; weak wind may be needed for the best control. |
| Slow-Flyer | Very Good | Lightweight airframe with a large wing area and low wing loading. | Often minimal assembly, although the lightweight structure requires careful handling. | Basic three-channel control is common; stabilization can improve low-speed confidence. | Small electric motor with a lightweight battery pack. | Large parks or fields only where model aircraft are permitted; calm conditions are important. | Gentle flight speed, low energy at landing, and good visibility during practice. | Light airframes are easily affected by wind and may be damaged by rough handling. |
| Pusher-Propeller Trainer | Very Good | Propeller positioned behind the wing or fuselage, leaving the nose relatively clear. | Usually simple to assemble, but motor and propeller alignment should be checked carefully. | Three- or four-channel control; stabilization and a beginner flight mode are beneficial. | Electric power is typical, with the motor protected from some nose-first impacts. | Open, level fields with a clear approach for landing. | Reduced risk of front propeller damage and often a clear forward view for the pilot. | The rear propeller can be damaged by grass, debris, or incorrect hand launching. |
| Low-Wing Sport Trainer | Good | Wing mounted near the lower fuselage, often with a faster and more agile profile. | Moderate assembly; control linkages and center of gravity require careful checking. | Four-channel control with ailerons, elevator, rudder, and throttle is commonly preferred. | Usually electric; brushless power systems are common on larger or faster models. | Large fields with a smooth takeoff and landing area and light to moderate wind. | Provides a useful transition from basic training to coordinated turns and aerobatic practice. | Less self-stable, generally faster, and less forgiving of incorrect trim or excessive control input. |
| Scale or Warbird-Style Kit | Limited for Beginners | Realistic appearance with designs that may have narrow wings, retractable details, or a heavier airframe. | Often moderate to advanced assembly, setup, and maintenance. | Four or more channels may be needed; stabilization is useful but cannot replace basic flying skills. | Electric power is common; larger versions may require higher-capacity batteries and stronger components. | Large, smooth runways or grass fields with calm weather and ample landing space. | Detailed appearance and more realistic flight behavior for experienced pilots. | Can stall more abruptly, require higher landing speed, and suffer greater damage from mistakes. |
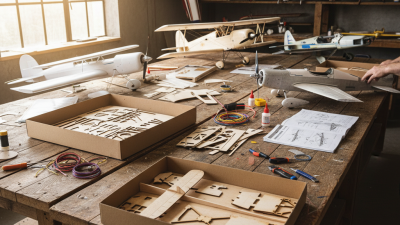
| DIY Build-It-Yourself Kit | Moderate | Wood, foam, or composite parts that require the builder to construct the airframe. | High; building, sanding, installing electronics, balancing, and covering may be required. | Component compatibility must be checked manually, including transmitter channels, servos, motor, and battery. | Can be electric or combustion-powered, depending on the airframe and equipment selected. | Depends on the final design; test flights should be conducted in a large, calm, unobstructed area. | Teaches aeromodelling fundamentals and makes repairs or modifications easier to understand. | Longer preparation time and a greater chance of construction or setup errors before the first flight. |